






















How to Choose Ayurvedic Oil for Face: A Simple Guide
Finding an Ayurvedic oil that truly works for your skin can feel like searching for a needle in a haystack. This guide walks you through the exact steps to pick the right oil, balance your doshas, and keep your microbiome happy.
Step 1: Identify Your Skin’s Dosha & Needs
First, figure out which dosha dominates your skin today. Vata shows up as dry, flaky patches; Pitta appears as redness or breakouts; Kapha feels oily and congested. Your current imbalance (vikriti) drives the symptoms, not your birth‑type (prakriti).
Take a quick online quiz or simply note how your skin reacts to the weather, stress, and diet. If you feel tight after a shower, you’re likely Vata‑leaning. If you notice frequent pimples, Pitta may be off‑balance. If your T‑zone shines all day, Kapha could be in charge.
Once you know the dominant dosha, match it to the skin need you want to address , hydration, calm, or oil control. Our own dosha‑specific guide explains how each imbalance shows up on the face.
Remember, most people have a mix of doshas at once, so look for an oil that can hydrate, soothe, and balance oil production simultaneously.
Step 2: Choose a Cold‑Pressed, Food‑Grade Base Oil
The base oil is the foundation of any Ayurvedic face oil. Cold‑pressing extracts the lipids without heat or chemicals, preserving the natural fatty acids and antioxidants that your skin loves.
Good choices include sesame, jojoba, almond, and rosehip. These oils have a fatty‑acid profile that mimics your skin’s own sebum, helping the barrier repair without feeling greasy. Medical News Today notes that only food‑grade, cold‑pressed oils are safe for topical use because they lack the harsh solvents found in many commercial extracts.
When you buy, look for labels that say “100 % cold‑pressed” and “food‑grade.” Avoid anything that lists “refined” or “hydrogenated.” Our ingredient glossary lists the exact extraction method for each oil we use.

Cold‑pressed oils also keep the natural antioxidants intact, which helps fight free‑radical damage and supports a healthy microbiome.
Step 3: Match Oil Benefits to Your Skin Concerns
Now line up the oil’s properties with what your skin needs. Below is a quick reference table you can print out.
If you’re battling breakouts, jojoba’s similarity to sebum helps regulate oil without clogging pores. For dry, cracked cheeks, sesame’s high linoleic acid restores the lipid barrier. Rosehip shines when you need extra collagen‑boosting power; it’s rich in vitamin C and retinoic acid equivalents.
For a deeper dive on the science behind these oils, see the research on natural plant oils and barrier repair. The study highlights why a higher linoleic‑to‑oleic ratio aids barrier function.
And if you want an Ayurvedic herb to pair with your oil, Neem adds antimicrobial strength that keeps acne‑causing bacteria at bay.
Step 4: Apply the Oil Correctly for Maximum Absorption
The way you apply matters as much as the oil itself. Start with a clean face , use a gentle cleanser to strip away dirt and excess sebum. Pat dry, then wait a minute so the skin isn’t damp.
Dispense 2, 3 drops onto your palm, warm it between your fingers, and press the oil onto the skin rather than rubbing. Pressing creates a micro‑suction that helps the lipids slip into the epidermis more efficiently.
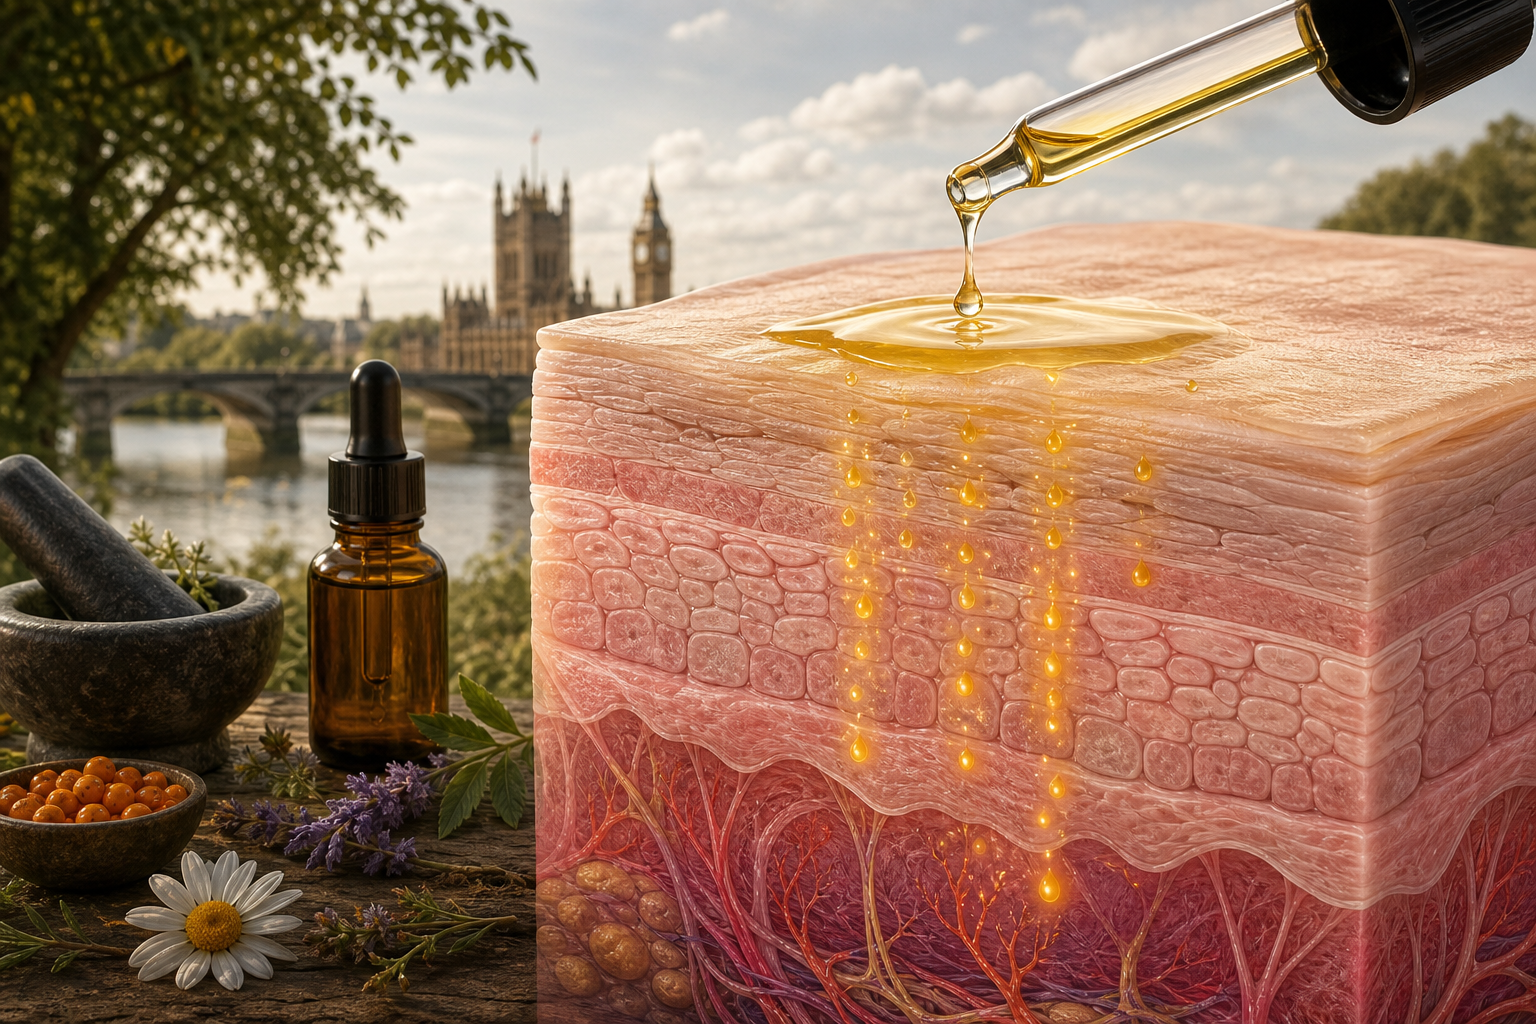
After the initial press, lightly massage in upward, circular motions for 30 seconds. This stimulates circulation and signals your skin to accept the nutrients.
For extra microbiome support, choose an oil that lists prebiotic or fermented botanicals. Banyan Botanicals explains how a balanced oil can feed good bacteria while keeping harmful microbes in check.
Finish with a light pat to lock everything in. If you layer a serum first, wait 1, 2 minutes before the oil so each product can sink fully.
Step 5: Build a Simple Ayurvedic Skincare Routine
Now that you know which oil to pick and how to apply it, slot it into a minimal routine. Simplicity keeps the skin’s ecosystem stable.
- Morning cleanse , a gentle, pH‑balanced cleanser.
- Serum (optional) , target a specific concern like brightening.
- Ayurvedic oil , the one you selected in the previous steps.
- Moisturizer with SPF , protect the barrier from UV damage.
Our Antioxidant Night Oil is a great choice for the evening step because it blends marula, argan, pomegranate, and avocado oils that work while you sleep.
For daytime hydration, the Daily Moisturizer with SPF offers a non‑greasy finish and broad‑spectrum protection.
Remember to patch‑test any new oil on your inner forearm for 48 hours. If there’s no redness or itching, you’re good to go.
FAQ
What is the best Ayurvedic oil for oily skin?
The best choice is a lightweight, non‑comedogenic oil like jojoba. It mimics the skin’s natural sebum, helping to regulate excess oil without clogging pores.
Can I use the same oil year‑round?
Yes, as long as the oil addresses your core skin needs. You may adjust the amount in winter (more drops) and summer (fewer drops) to match humidity changes.
How long does it take to see results?
Most people notice softer texture and better hydration within two weeks. Significant barrier repair or acne reduction can take 4, 6 weeks of consistent use.
Is it safe to use food‑grade oil on sensitive skin?
Food‑grade, cold‑pressed oils are generally safe for sensitive skin because they lack harsh solvents. Always do a patch test first.
Do I need to wash my face before applying the oil?
Yes, a clean canvas ensures the oil can penetrate without interference from dirt or makeup, maximizing absorption and effectiveness.
Choosing the right Ayurvedic oil is simple once you know your skin’s dosha, pick a cold‑pressed, food‑grade base, match the oil’s benefits to your concerns, apply with a press‑and‑pat technique, and slot it into a minimal routine. Ready to try?
Start by picking a base oil from the table above, then grab our Antioxidant Night Oil for overnight care. Your skin will thank you.
Ready to put this into practice? OM Botanical Plant-based Ayurvedic Skincare was built for exactly this.
Share