Key Highlights
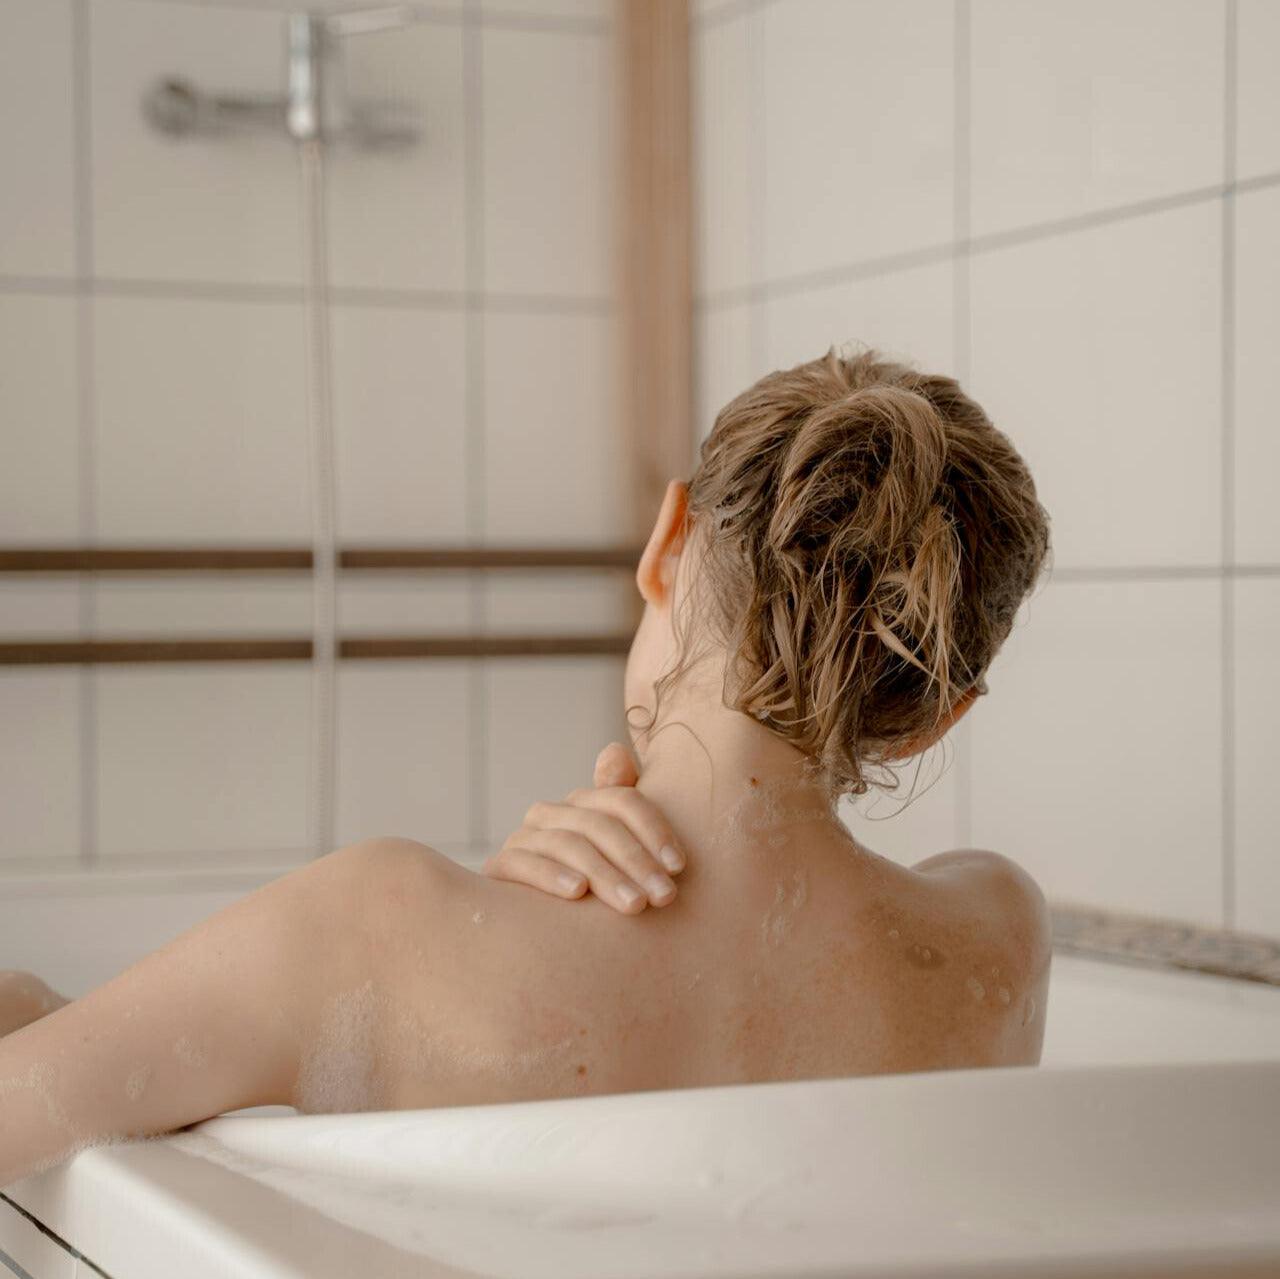
Bhringraj oil, made from Eclipta alba, has long been prized in Ayurveda for supporting hair growth and stronger-looking strands. Traditional use links bhringraj oil with better hair health through scalp massage and improved blood circulation. Typically, noticeable results from using Bhringraj for hair may appear after consistent use for at least 3 to 4 months, although this timeline can vary depending on individual factors such as hair condition, frequency of application, and overall health.
This ayurvedic hair oil is widely used to target hair loss, dandruff, dryness, and weak roots in one simple ritual.
Traditional use links bhringraj oil with better hair health through scalp massage and improved blood circulation.
Research discussed around eclipta alba extract and lab tests adds scientific interest to its hair benefits.
OM Botanical can use this ayurvedic ingredient to create more purposeful, plant-led hair care.
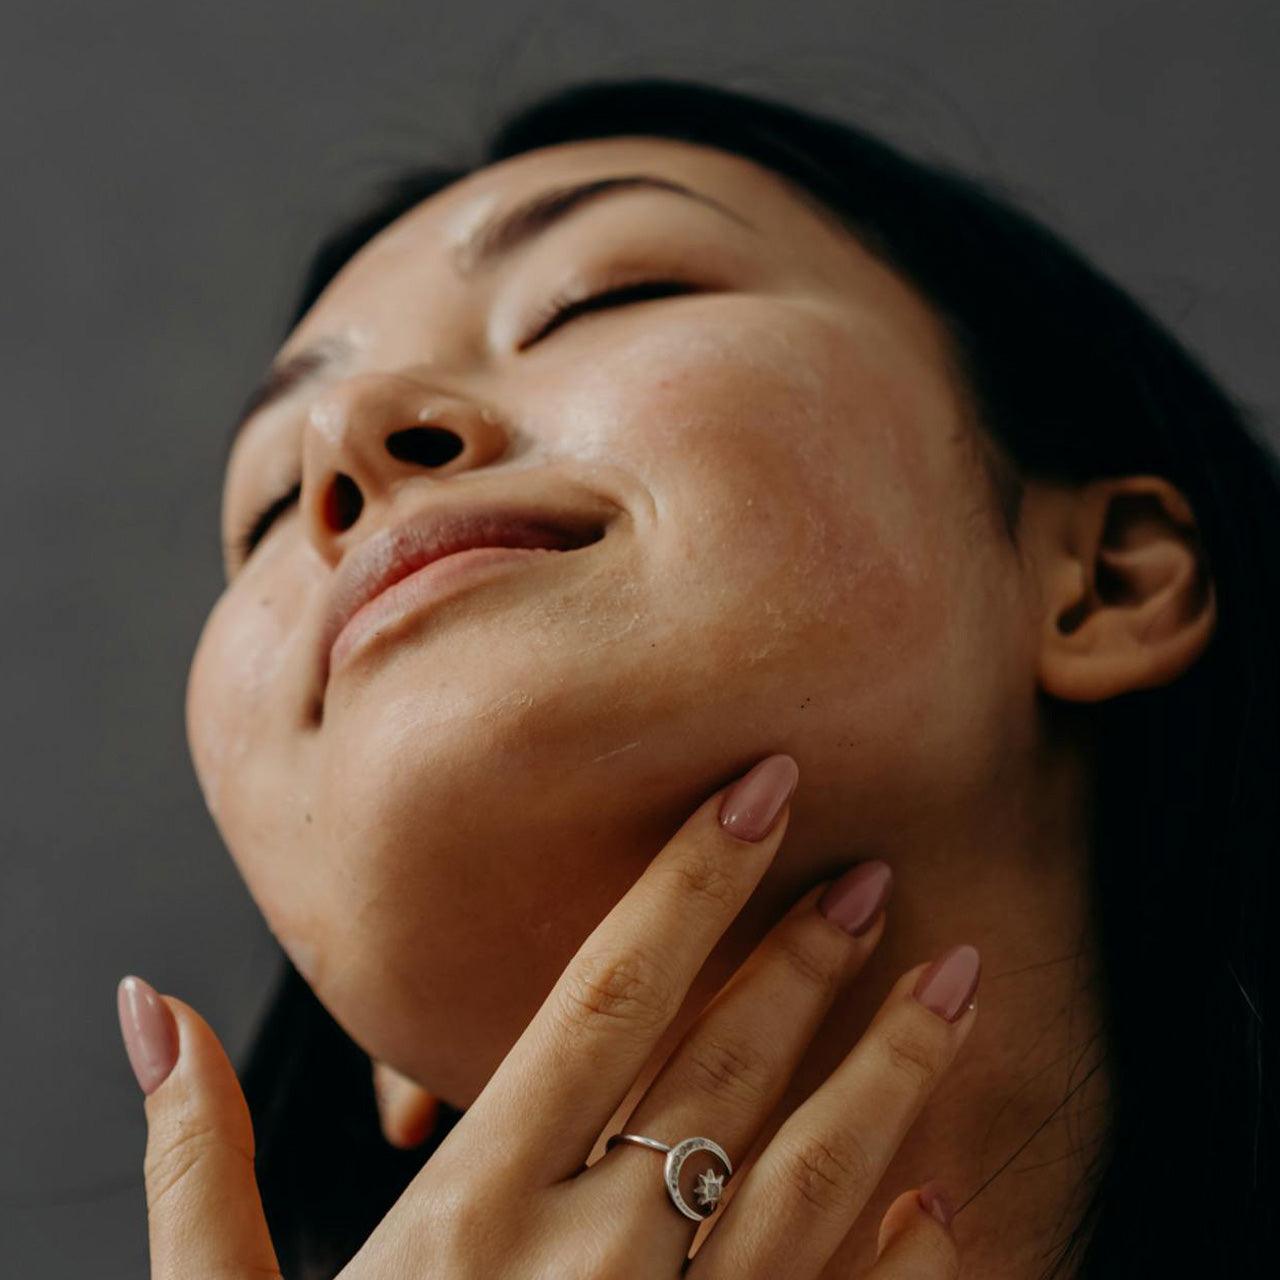
IntroductionIf your hair care routine feels full but your hair still looks dry and weak, ayurveda suggests a simpler way to help. Bhringraj oil is a well-known herbal oil for hair. It is not just popular now, but people have used it for years. In ayurveda, putting oil on your scalp often is a good step for hair that is stronger and grows in a healthy way. This means bhringraj oil is not just something you do to look good. It is a regular step for real hair care results. It makes sense to learn more about it.Understanding Ayurvedic Herb Bringraj and Its Origins Bhringraj is a traditional herb from the sunflower family. It is also called Eclipta alba or false daisy. This plant grows in moist, warm places. In ayurveda, people use bhringraj for hair care, to help feel young, and for other health uses.The leaves from this herb are important. They are used in many forms, such as oils, powders, and juices. It also comes in other various forms. This long history helps explain why bhringraj is still talked about so much in hair care today. People have used this herb for centuries and now see its value if they want good hair.Botanical Profile and Traditional Uses in AyurvedaBhringraj is a creeping traditional herb with white flowers, lance-shaped leaves, and clear roots. People often call it Eclipta alba or sometimes Eclipta prostrata. You might also hear it called false daisy. Because of that second name, many people miss how important this plant is in old hair care routines. In Ayurveda, it stands out even more. People call it the king of hair, or sometimes the king of herbs, when it comes to hair vitality.The ethnopharmacological significance of bhringraj is great. This is because many old and new healing methods use it. Old texts call this herb a Rasayana. This means it helps bring new life and supports your hair in the long run. This big name is why bhringraj oil is a well-known ayurvedic medicine for many hair problems.Ayurveda says bhringraj helps hair growth by feeding the scalp and caring for hair follicles. It also helps balance extra heat in the body, which the system calls pitta dosha. Many think it helps get a better flow of blood when you use it for a head massage. This is a big reason why oil is a key way to use this herb in hair care.Key Phytochemical Constituents Relevant for Hair HealthBhringraj extract, which comes from Eclipta alba and sometimes called Eclipta prostrata, has many useful parts in it. The main things you find in it are flavonoids, wedelolactone, coumestans, polypeptides, steroids, sterols, and triterpenes. These parts explain why people use this herb a lot, both long ago and now.It also has good things for the body like iron, vitamin E, magnesium, calcium, vitamin D, proteins, and polypeptides. If you mix bhringraj extract with amla, you add vitamin C too. Vitamin C is important because amla helps with collagen for hair roots.So, what can bhringraj do for your hair? It may help support hair growth, cut down hair fall, calm dandruff, give more shine, make dry hair better, and help the feel of your scalp and hair roots.How Bringraj Promotes Healthy Hair: Scientific Perspective From a science point of view, the reason people like bhringraj oil is because of what it does to your scalp. When you use bhringraj oil for a head massage, it can help with blood circulation. Better blood flow can get nutrients right to your hair follicles. This matters if you want healthy hair or better hair growth, not just hair that feels soft for a short time.People have used bhringraj oil for a long time because it helps with dryness, dandruff, and when your scalp does not feel good. This means the oil is good for hair health in more ways than one. In the next parts, you will find out how ideas from Ayurveda fit with science, so you can learn how both are important for healthy hair, blood circulation, and hair growth.Mechanisms of Action According to Ayurvedic MedicineIn ayurveda, the bhringraj plant is known as the king of herbs because it is good for hair health. Hair health in ayurveda is not just about your hair alone. It is linked to how healthy the scalp is, the level of heat in your body, the state of your mind, and how much nourishment you get. People use bhringraj for scalp care when they think there is too much heat or too much pitta dosha. These things may lead to hair shedding, itching, or even early gray hair. The cooling effect of this herb is why so many use it to keep the scalp healthy.There is also a real way that it works. When you massage bhringraj oil on the scalp often, it can help with blood flow. Increased flow of blood means your hair follicles get more food and care. Ayurveda says the best way to have good roots is to have steady care and nourishment. It is not about a quick fix, but about taking care of your hair in the long run.So how does bhringraj help with hair growth in ayurveda? It works by steady support. This means keeping the scalp cool, lowering stress, improving blood flow, and feeding the hair follicles by using oil in a gentle way. This is why you should use it all the time — not just once — if you want better results for your hair.Research-Backed Evidence on Hair Growth and Scalp HealthResearch interest around bhringraj has grown because traditional claims are being examined through lab tests and published discussions of Eclipta alba extract. The compiled material points to hair growth promoting activity and strong ethnopharmacological significance. It also references a four-week clinical study on an Ayurvedic formulation containing bhringraj with other herbs, where reduced hair fall was reported.That distinction is important. Pure bhringraj oil is valued on its own, but many stronger outcomes in hair growth and scalp health are discussed when bhringraj is blended with herbs such as amla, indigo, and balloon vine in sesame oil.
Evidence Type
What the compiled information shows
Lab tests
Eclipta alba extract is discussed as having potential hair growth promoting activity
Human clinical studies
A bhringraj-containing Ayurvedic oil blend was reported to reduce hair fall in four weeks
Traditional use + observation
Bhringraj oil is repeatedly associated with dandruff relief, stronger roots, and improved scalp comfort
If you are asking whether there are recommended Bhringraj oil products for hair growth, the compiled information strongly favors certified Ayurvedic formulations, especially blends designed for hair fall support.Main Benefits of Using Bringraj in HaircareThe benefits of bhringraj oil stand out in hair care because it can help with many things at once. You do not need to get one product for dryness, another for shedding, and one more for dull hair. This ayurvedic ingredient can do more than one job, so it covers a lot of your hair care needs.The immense benefits of bhringraj oil include stronger roots, less dryness on the scalp, more shine, and support for healthy hair as time goes on. People keep coming back to this oil. That is because it helps with shedding, dry or itchy scalp, and even the way your hair looks. This is what makes the benefits of bhringraj oil so good for those looking for better hair care.Strengthening Roots and Reducing Hair LossHair loss can creep up on you. At first, you see more hair on your brush. Then you see it in the shower. Over time, your part starts to get wider. Bhringraj is important because it works on that early weak spot, right at the hair roots. When the roots are strong and get enough care, your scalp can have better hair for years.Many studies and collected stories say bhringraj oil can help blood flow and blood circulation when you massage it into your scalp. When blood moves better, the scalp gets more nutrients that help your hair. Ayurveda also talks about bhringraj as a way to lower stress. That helps, as stress is a big cause for hair fall.Can bhringraj oil help lower hair loss? Looking at what people say and what’s been studied, yes, it can help with hair fall. It supports the roots, feeds the hair follicles, calms the scalp, and helps you keep hair density as time goes on. But it works best if you use it many times and do not expect a fast change. Use it as a part of your routine for the best result.Addressing Dandruff and Scalp ItchinessDryness and flaking can make hair that looks good feel hard to control. One of the main uses of bhringraj oil is for dandruff, especially if your scalp is itchy, tight, or oily at the same time. Because it is thick, this oil can get deep into the scalp.People say bhringraj oil has anti-microbial and anti-bacterial features. So, it is good for scalp health, not just for making hair softer. Many like the calming effect that comes with it. A calm scalp does not react as much, and this can help your overall health and sleep too.Is bhringraj oil good for dandruff or an itchy scalp? Yes, lots of people use it for both. When we talk about side effects, it is not known to cause many problems. Still, some people could get an allergy or a little irritation, so it's a good idea to do a patch test before full use.Supporting Hair Thickness, Shine, and VibrancySometimes, what really matters in a routine is more than just less shedding. It is about how your hair feels when you run your hands through it. Bhringraj is known as a natural conditioner. It can make rough hair feel soft. It can also help make your hair texture better and give it a smooth, finished look.This benefit is important if your hair looks dry, weak, or has no shine because of heat, the sun, or any kind of damage. People say that this herb gives hair a little extra moisture. It also helps hair look more shiny. When you use Bhringraj oil with other oils, the effects feel even stronger.So, what are the main benefits of using Bhringraj for healthy hair? Many say that with regular use, you get thicker hair, more shine, smoother texture, better softness, and support for healthy hair. That is what makes the herb so popular today and why a lot of people still choose it.Comparing Bringraj Oil with Other Herbal Hair OilsNot every herb oil does the same job. Some of them are for the surface of your hair. But bhringraj oil is made from eclipta alba and works for the roots, scalp, and your hair strands at the same time. This oil is known as a strong ayurvedic ingredient.That is where the real difference is. If you want a hair oil that helps with hair fall, dandruff, early graying, and how your hair feels, bhringraj oil really stands out from other simple herbal oils. The next two parts show what makes it special and why it can be even better when mixed with other things.Unique Properties That Set Bringraj ApartThe main way bhringraj oil stands out from other herbal oils for hair is what it does. While many oils can make hair soft, bhringraj oil is known to help hair grow, cut down on hair fall, ease dandruff, and slow down early graying. This means it does a lot more in hair care than most others.There is also a difference in how you use it. Bhringraj oil comes as a pure oil or added to a mix. In both cases, the plant is put in a carrier oil, like sesame oil or coconut oil. This makes it simple to rub into the scalp and reach the hair roots.
Bhringraj is important for giving the scalp what it needs and supports strong hair roots.
The benefits of bhringraj are about both how your hair looks and how it feels good, based on old uses and care.
This oil is picked when you want more than just soft hair—you want complete hair care help.
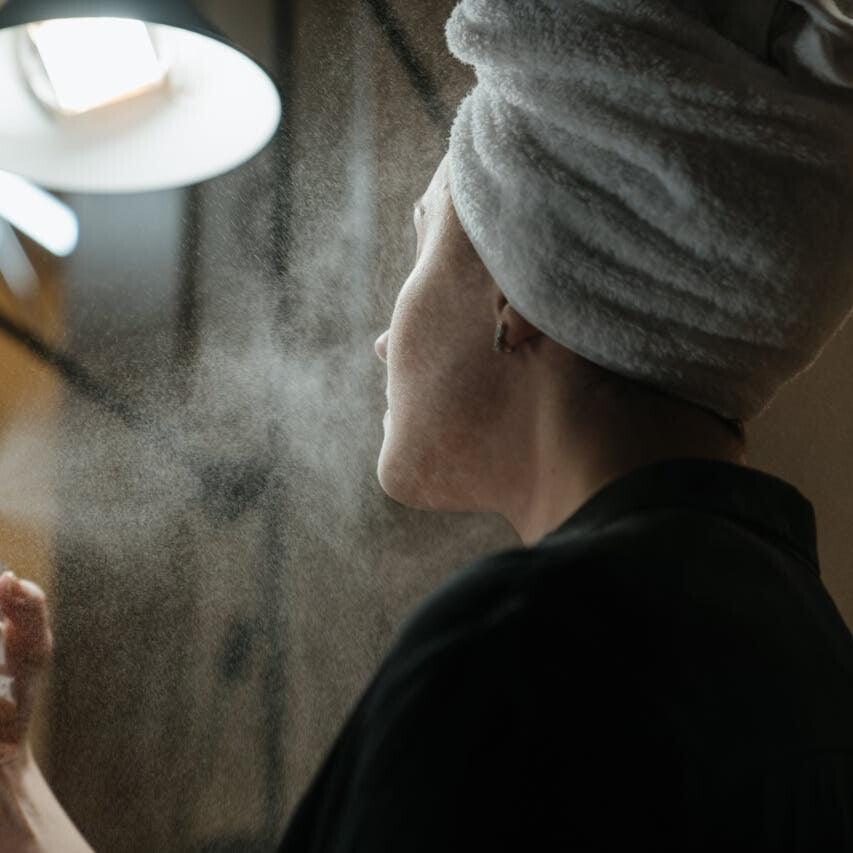
Using bhringraj oil in your hair care can help your hair roots and bring many other benefits that other herbal oils may not give.Synergistic Effects When Combined With Other Ayurvedic HerbsBhringraj oil becomes even better when you mix it with other ayurvedic herbs. Many people like to blend it with amla, indigo, balloon vine, and sesame oil. Amla is good because it has vitamin C. Indigo can help with your hair's color. Sesame oil is a strong base that gives a lot of care.These effects are important since people often have more than one hair problem at the same time. You might deal with shedding, dryness, or hair that looks dull. When you use a blended ayurvedic hair oil, you can get help with all of these problems at once. This can give better support than a hair oil with only one ingredient.Can you use bhringraj oil on all hair types? The facts do not say that it should be for just one group. People use it in various forms and mix it with bases like sesame oil or coconut oil. This shows that it is made to fit many people. You still need to do a small patch test if you know you are sensitive to oils or plants.Application Techniques for Haircare with BringrajEven the best hair oil will not work well if you use it the wrong way. For good hair care, how you use bhringraj matters a lot. You need to use massage, a little warmth, and let it sit for some time. These steps are not just extra – they are all part of how bhringraj hair oil should be used.If you want the best results for your hair, pay attention to how you use it. The steps you need to follow are easy and clear. That is one big reason many say bhringraj is simple to add to your hair care routine. Keep reading to see how you can put it on the right way and when it may be okay to do it yourself at home, or when it might not work so well.How to Apply Bringraj Oil for Optimal ResultsIf you are asking how to put bhringraj oil on your hair for the best results, the steps are easy. Start by using bhringraj oil that is warm, but not hot. Warming the oil a little bit helps it go on better and feels more comfortable on your head. This can help your massage feel more relaxing and work well.Take a small amount of the oil first and start with one section of your hair at a time. This way, you make sure it goes all over your scalp. Focus on the roots of your hair, too, because that is where the hair follicles get the most from bhringraj oil. Use your fingers and give gentle, circular motions for about 15 minutes. This will help with coverage and also help the scalp feel nice and calm.
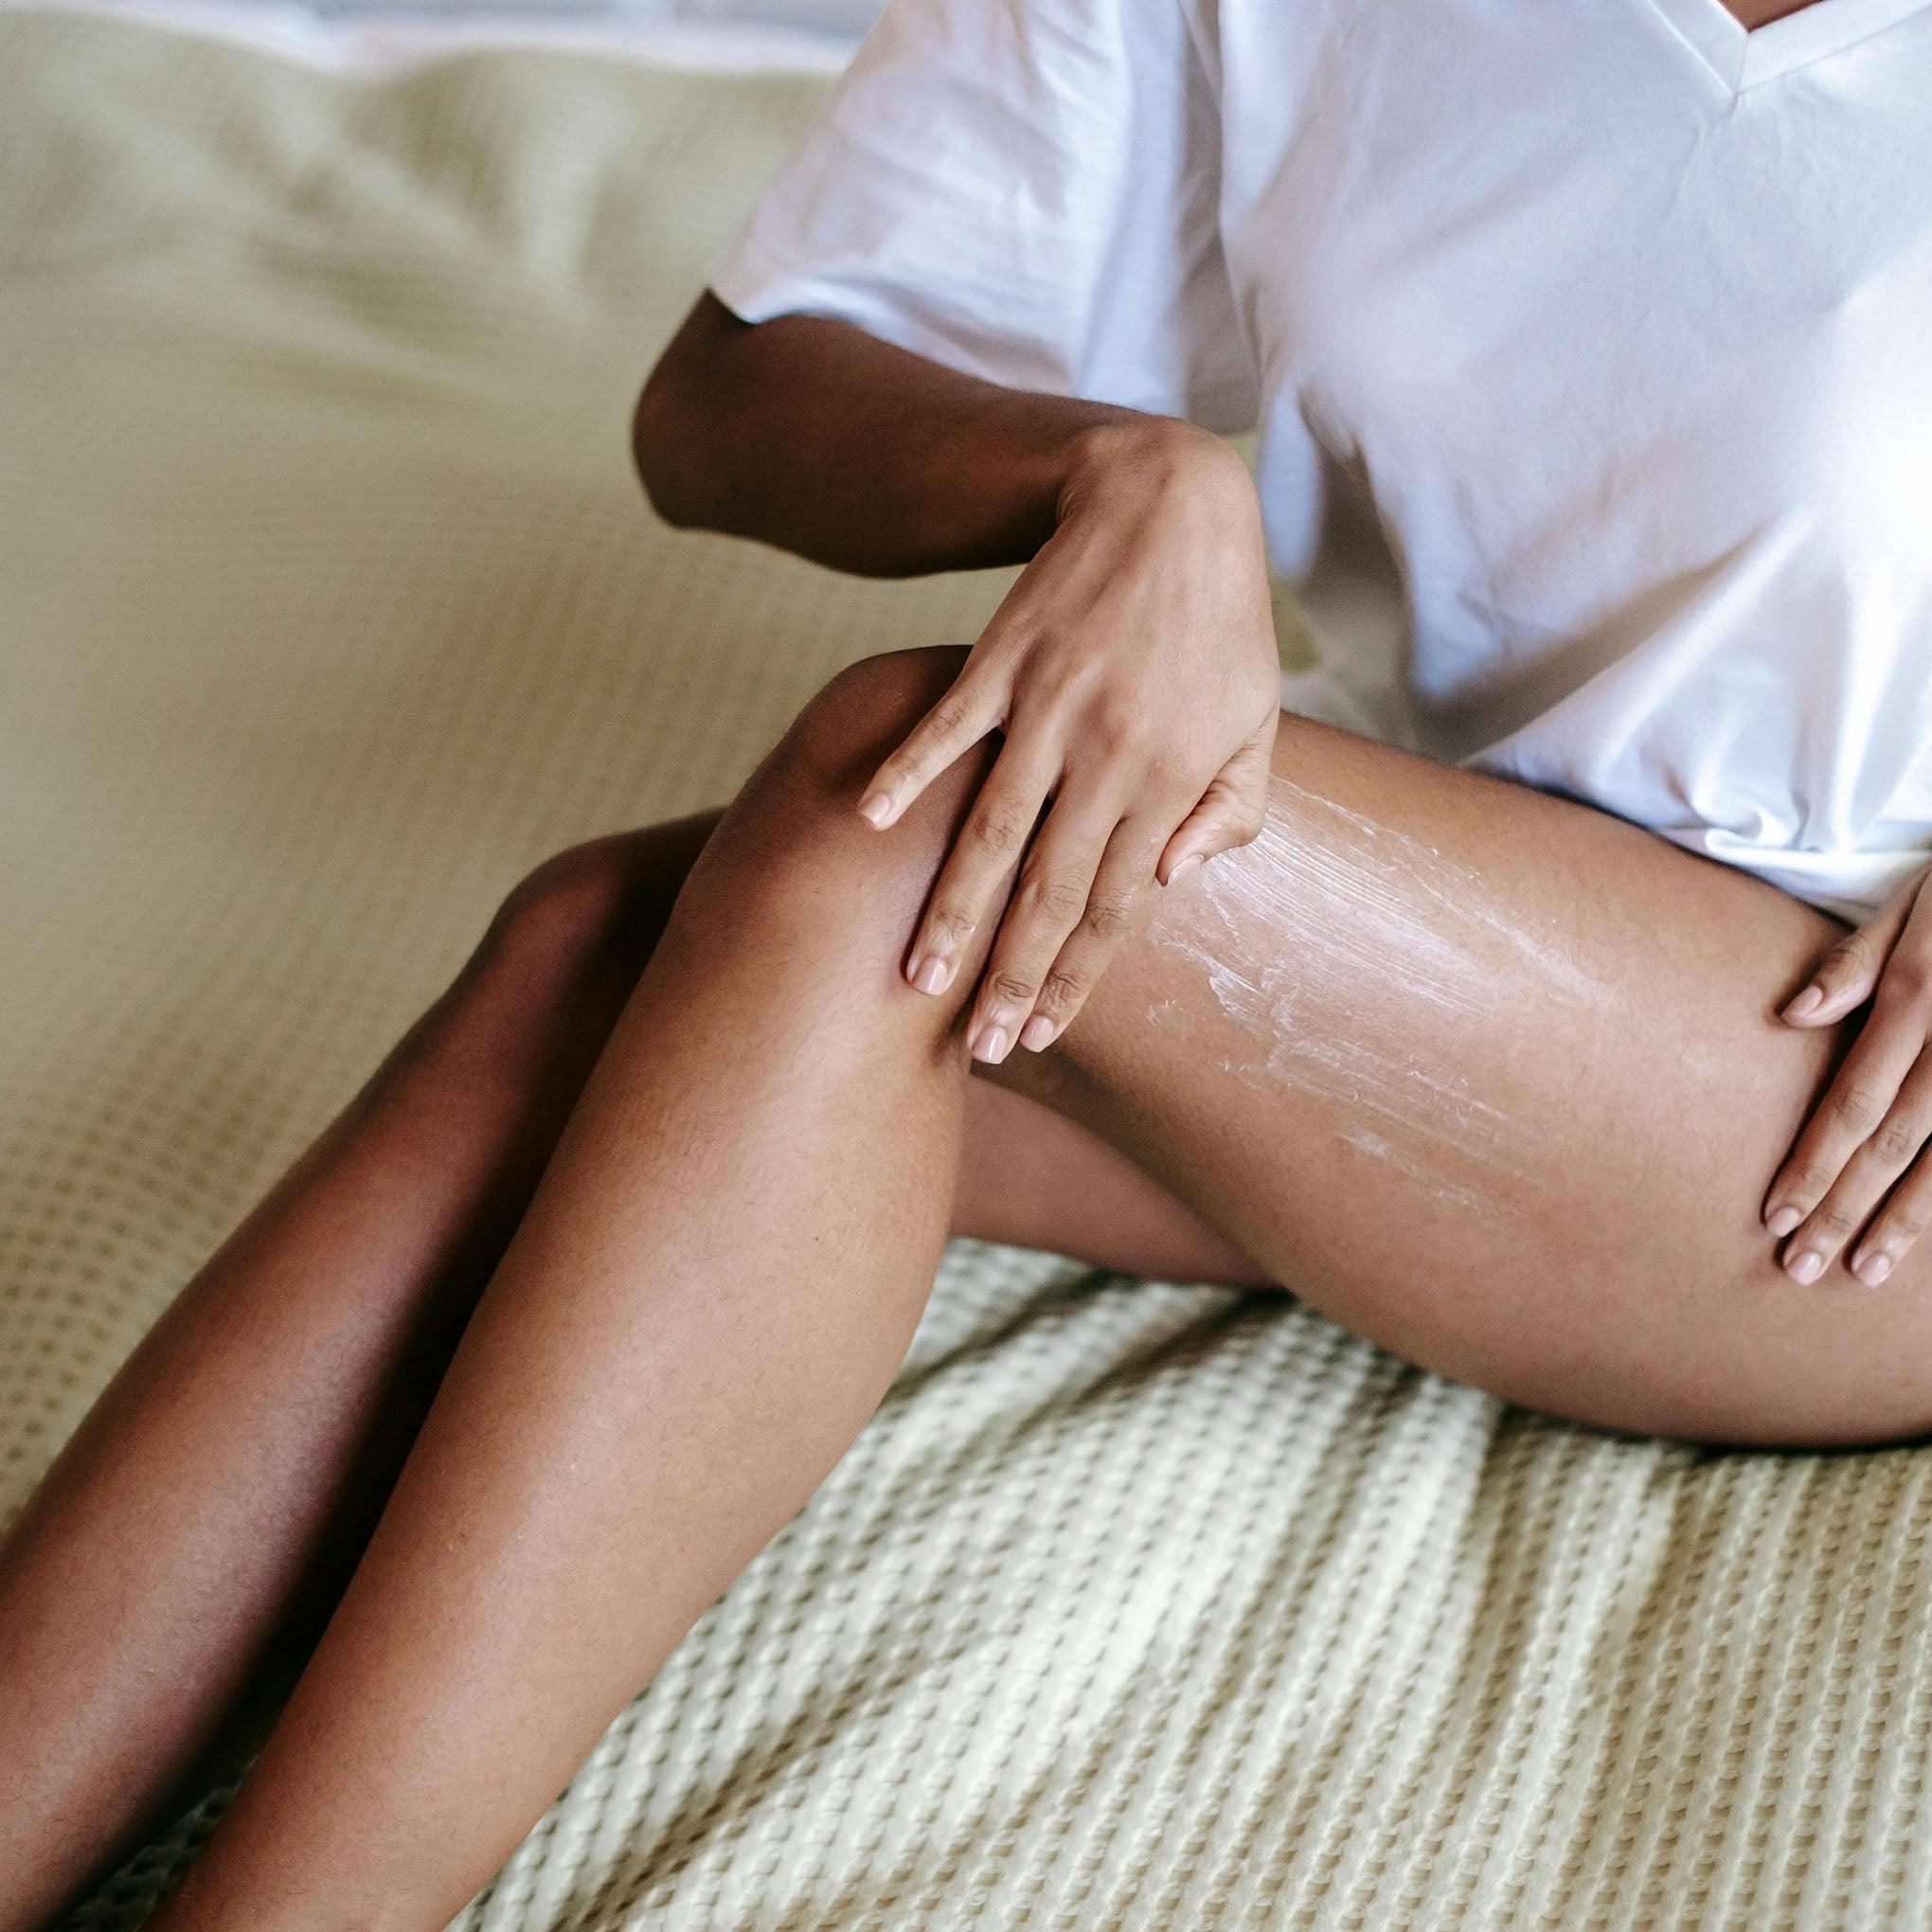
Warm the oil for about 30 seconds, or you can warm the bottle in water.
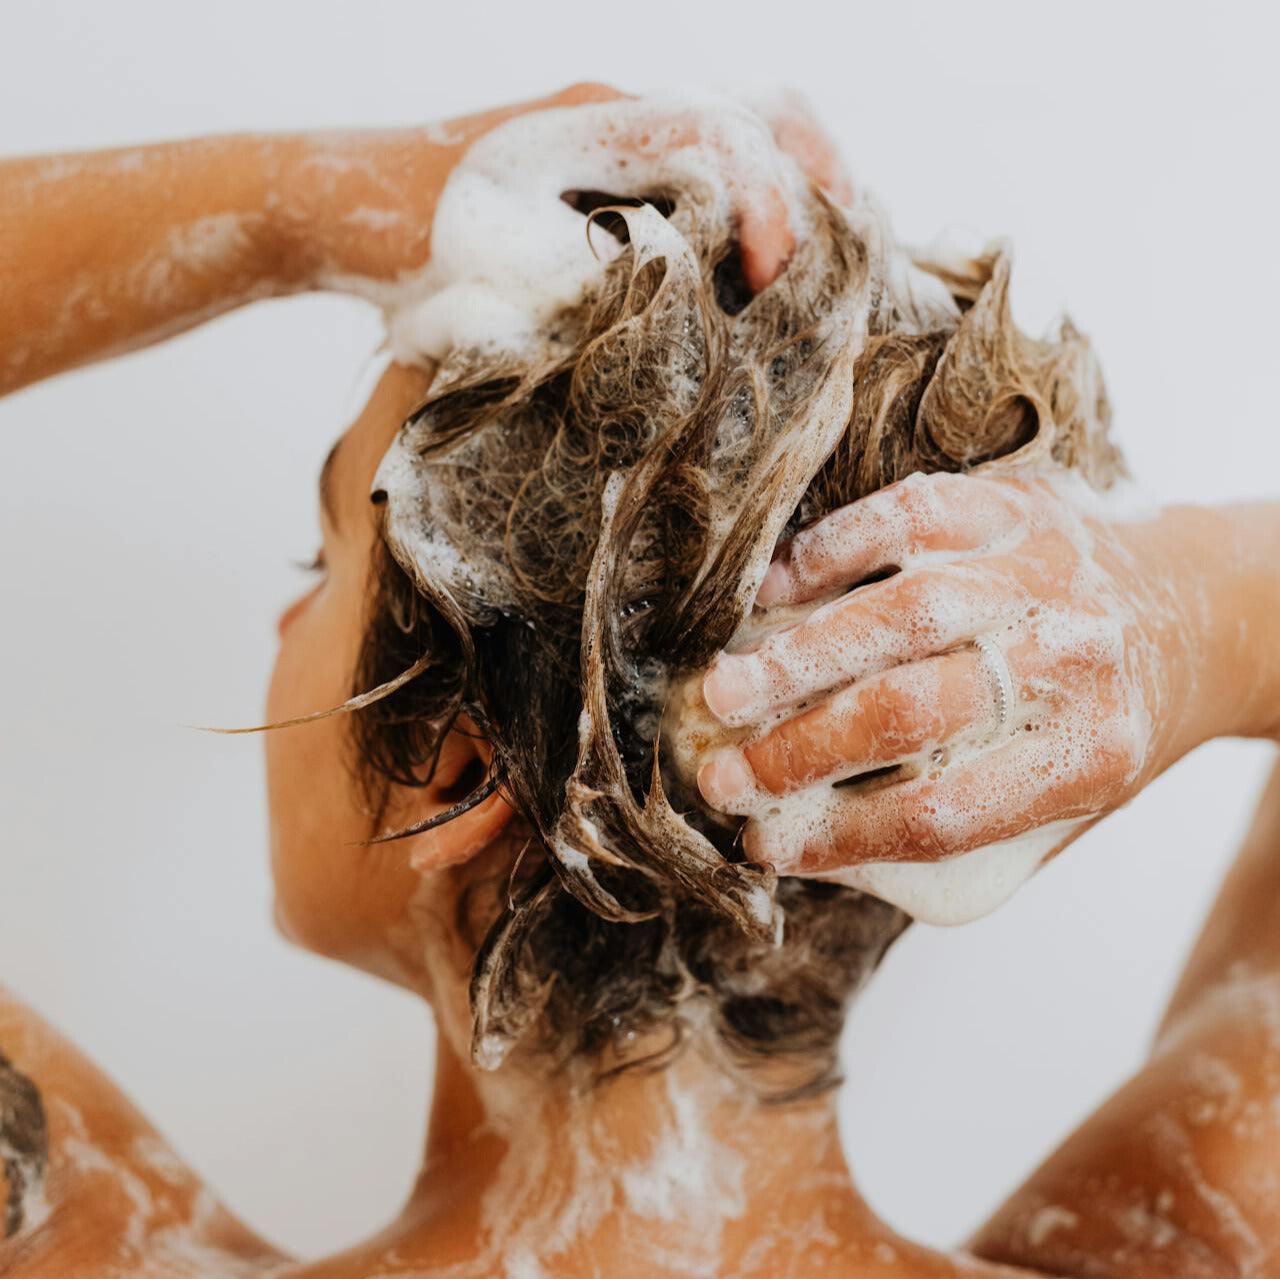
Put the warm bhringraj oil on your scalp and hair, and then massage it in softly.
Let it sit for at least 30 minutes before you wash your hair with a mild shampoo.
If you have dandruff and need more support, you can also leave the bhringraj oil in your hair overnight.DIY Options Versus Ready-Made FormulationsYou can make your own bhringraj oil at home if you can get the leaves and have some time. To do this, dry bhringraj leaves first, then soak them in a base oil like coconut oil or sesame oil. Put the jar in the sun. Leave it there until the oil turns light green. You may also use bhringraj powder to make a hair pack.But there are reasons many people pick store-bought options. Getting good, fresh herbs is not easy, and making your own oil takes both work and time. Well-made bhringraj oil from a shop can also have other plants to help with hair growth and hair fall.So, do you want to know if there are good bhringraj oil products for hair growth? The compiled information says it’s best to pick bhringraj oil from a certified Ayurvedic brand. Ready-made oil that mixes other helpful plants will give you a simple way to care for hair fall and scalp care every day, and you will get stronger support, too.OM Botanical’s Approach: Harnessing Bringraj in Their Haircare ProductsOM Botanical has a chance to bring this old ayurvedic ingredient into today's hair care. Bhringraj oil fits in with a brand that loves plants, daily habits, and simple products that work well. This is the point where new ideas in products start to matter, not just look nice.The brand has people who already care about clean products. OM Botanical can use bhringraj oil as part of a bigger story. This story will include plant based skincare products, ayurvedic skincare products, microbiome friendly skincare, non toxic skincare products, and the hair essentials that tie scalp health to what people use every day.Product Innovation, Ingredients, and User ExperiencesHow OM Botanical incorporates Bringraj in its hair care products can be understood through ingredient logic already supported by the compiled information. Bhringraj extract plays a significant role when paired with pumpkin seed oil, marshmallow root, slippery elm, or other traditional herbs associated with stronger roots, reduced dandruff, and improved shine. That is a smart product innovation pathway.From a customer perspective, user experiences around bhringraj usually center on scalp comfort, easier manageability, and healthier-looking hair with regular use. OM Botanical can support that journey through a thoughtful range that connects oiling, cleansing, and gentle maintenance.This kind of range lets OM Botanical connect hair wellness to a broader self-care system without losing clarity.Is bhringraj able to regrow hair?Bhringraj, known for its Ayurvedic properties, is often touted for promoting hair regrowth. It stimulates blood circulation to the scalp and strengthens hair follicles, potentially reducing hair loss. Regular application of bhringraj oil can nourish the hair, leading to healthier and more vibrant strands over time.ConclusionTo sum up, Bringraj is a strong Ayurvedic herb known for how good it is for your hair health. It is packed with special plant goodness that helps make your hair roots stronger. It can help lower hair loss and keep the scalp healthy. When you add Bringraj to your hair care, you get hair that is bright and strong. You will feel good about your hair roots and the way your hair looks.At OM Botanical, we use the power of Bringraj in the hair care products we make. We want you to get the best the natural world can offer for your hair. This is your chance to change the way you care for your hair. Try the power of Bringraj in our new hair care items. Your hair will thank you for it!