Key Highlights
Retinol can trigger peeling, redness, dry skin, and sun sensitivity in a skin care routine. In rare cases, retinol may lead to more serious side effects such as severe skin irritation, allergic reactions, or, in extremely sensitive individuals, blistering or swelling. Bakuchiol supports collagen production and targets signs of aging with far less skin irritation; reports of rare serious adverse reactions to bakuchiol are very uncommon, but allergic reactions can occur in sensitive individuals. Clinical comparisons show similar visible improvement in fine lines, tone, and texture.
Bakuchiol supports collagen production and targets signs of aging with far less skin irritation.
Clinical comparisons show similar visible improvement in fine lines, tone, and texture.
For sensitive complexions, bakuchiol is widely seen as the gentler alternative.
Bakuchiol does not raise photosensitivity the way retinol often does.
OM Botanical positions bakuchiol as a safer anti-aging choice with fewer side effects.
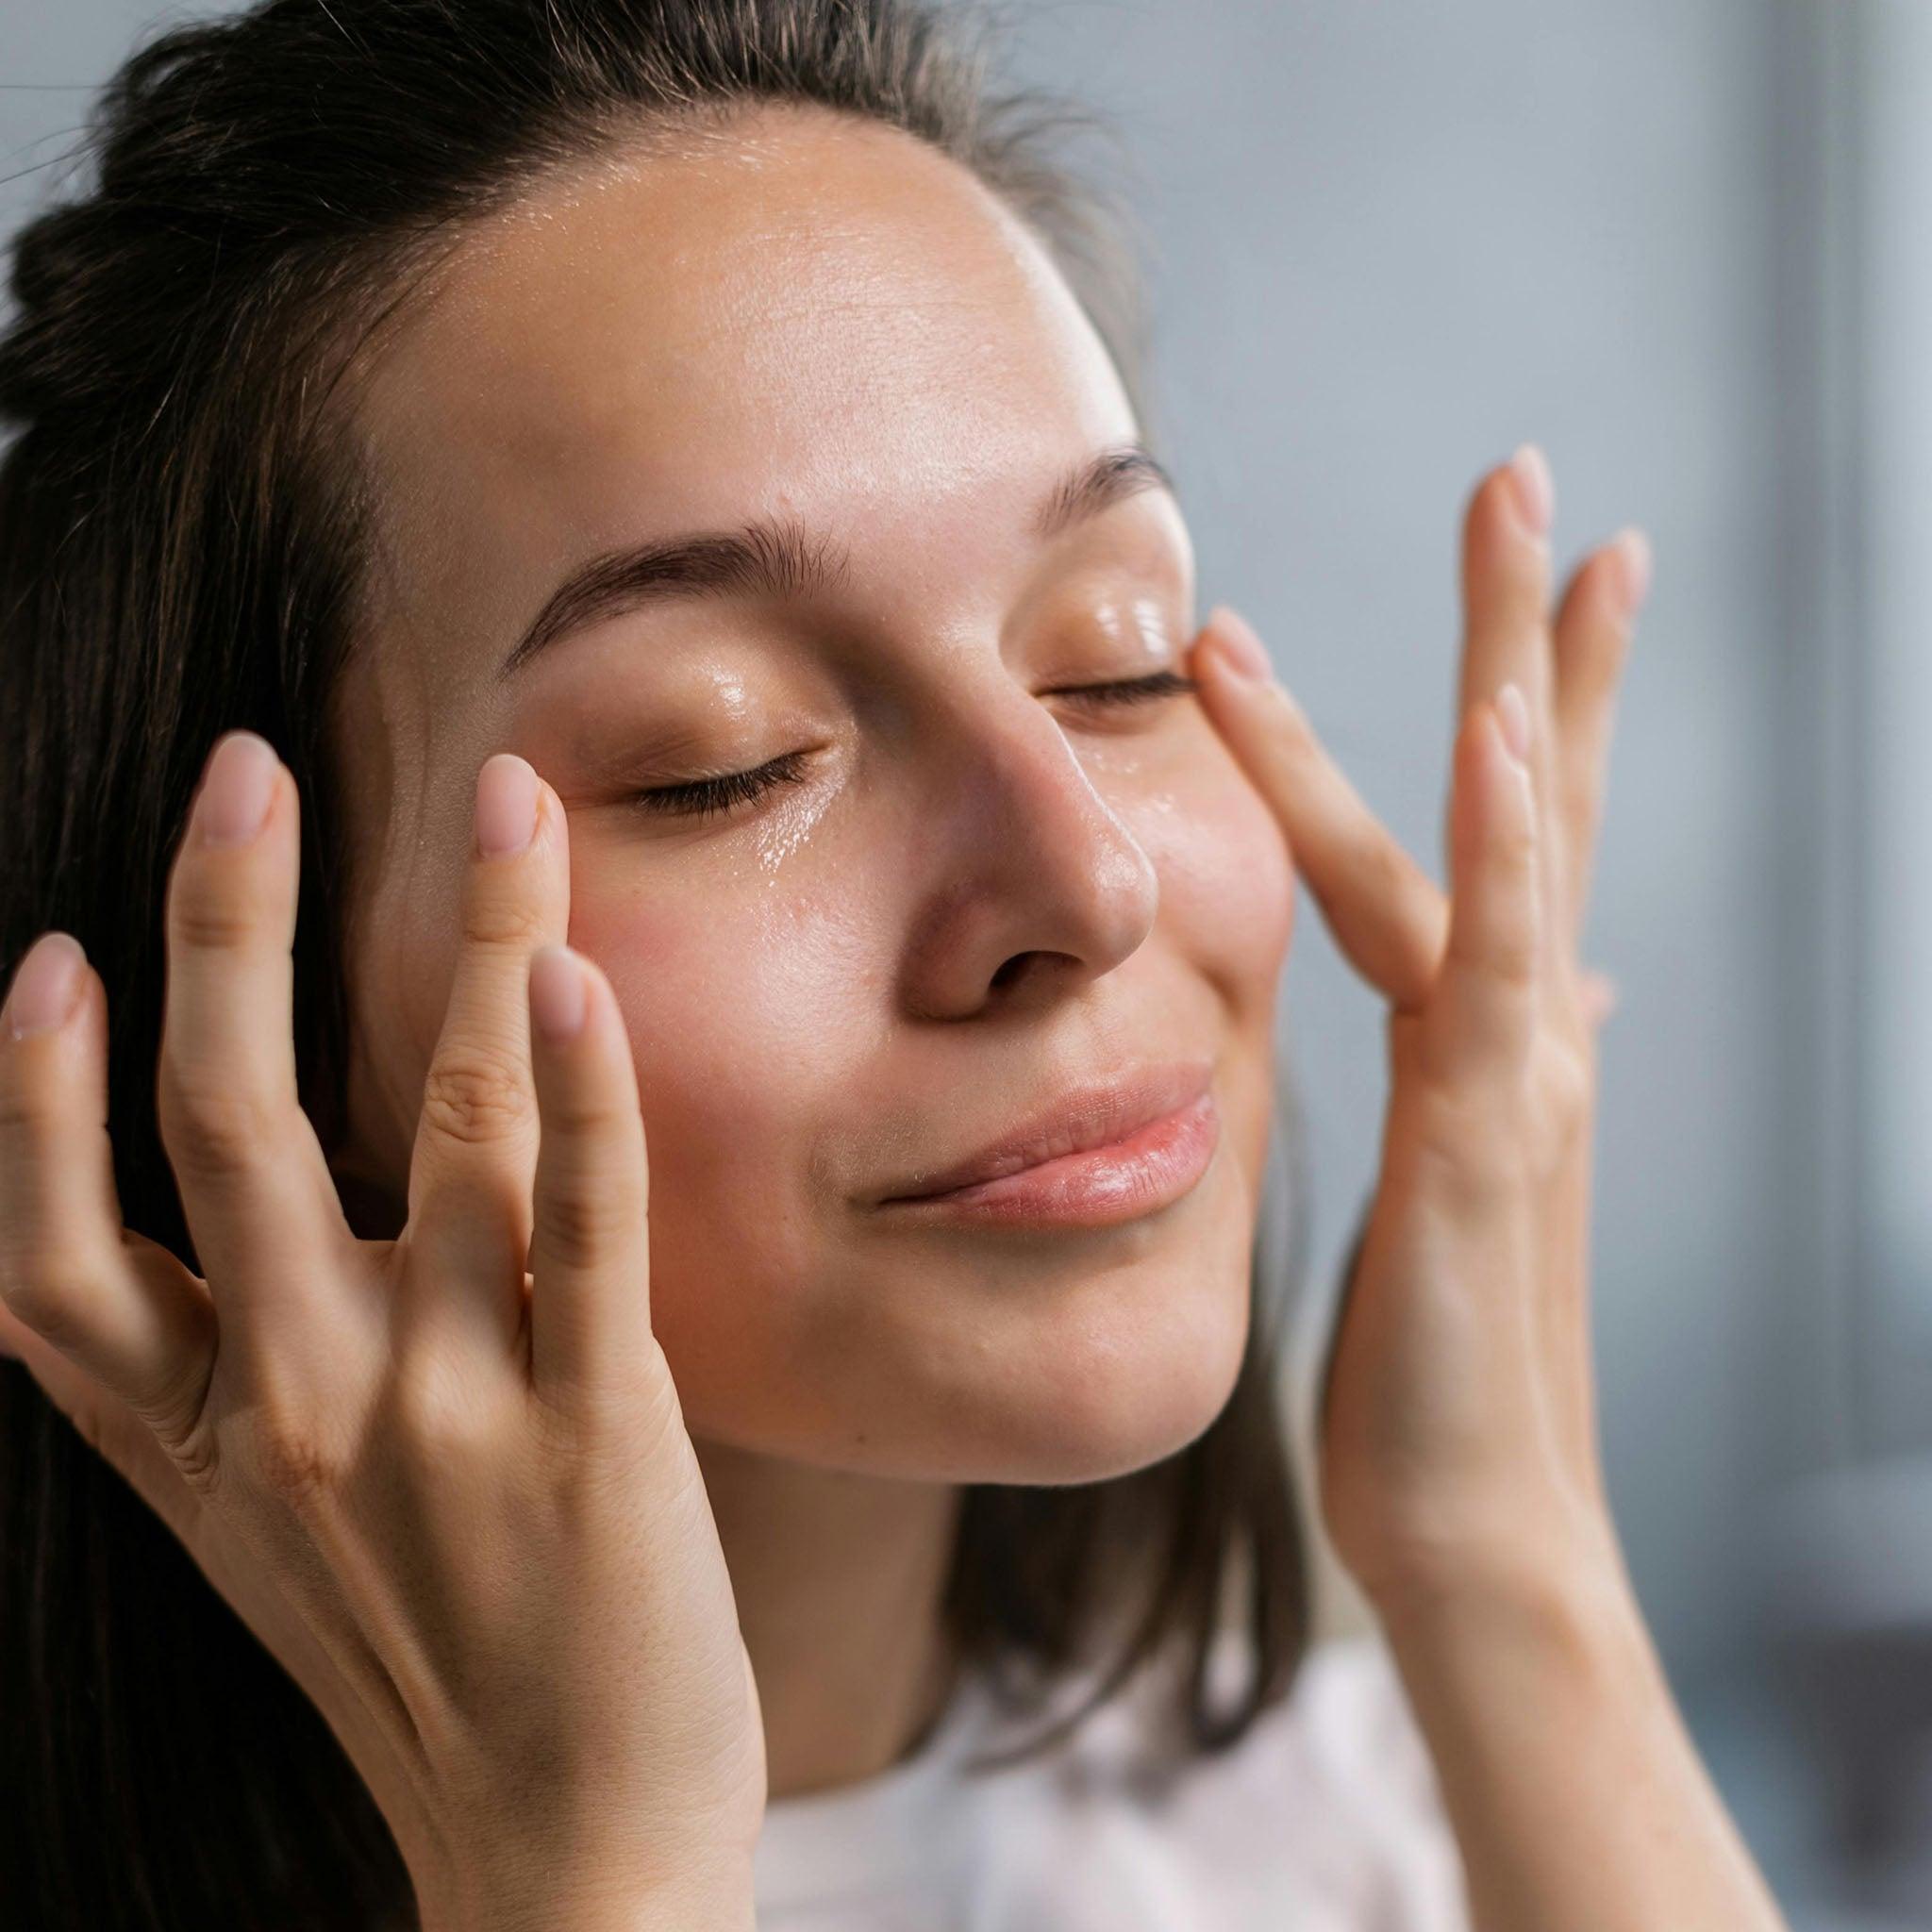
IntroductionIf you want your skin to feel soft and smooth without any trouble, you should read this. There are many skin care products that say they help lower signs of aging. But retinol can make your skin peel and turn red. It also takes time for the skin to get used to it. That’s why bakuchiol is talked about more in skin care now.Bakuchiol comes from plants. It can make your skin look firmer and brighter. The good thing is, you don’t feel as much discomfort like you do with some other skincare products. If you want results but cannot stand strong formulas, bakuchiol is now a good choice. It is a smart and easy way to start caring for your skin.TL;DR—Bakuchiol vs. Retinol: The Science of Side Effects at a GlanceRetinol is usually a synthetic form of vitamin A. In the skin, it must turn into retinoic acid so it can work. This change can come with side effects that many people know about. For example, redness, peeling, dryness, and higher sun sensitivity are common.Bakuchiol is not vitamin A. Still, it can help get similar anti-aging results. The safety of plant-based bakuchiol is significantly better, with almost no side effects for most people. There is much less chance of hard or strong reactions in the skin, and that is what makes it stand out for all types of skin.Quick Comparison Table: Sensitivity, Irritation, and ResultsHere is the short answer: bakuchiol usually wins on comfort, while retinol has the longer mainstream reputation. If your biggest concern is skin irritation, the contrast is hard to ignore. Clinical comparisons described in the compiled information found similar visible outcomes, but bakuchiol caused no flaking or burning.
Factor
Bakuchiol
Retinol
Sensitivity risk
Low for most users
Common during adjustment
Irritation
None, usually very mild if it happens
Redness, peeling, dryness are common
Photosensitivity
Lower risk
Higher risk
Sun stability
Stable in sunlight
Degrades with UV exposure
Collagen production
Supports collagen production
Supports collagen production
So which has a lower risk of photosensitivity? Bakuchiol. Are there clinical studies comparing side effects? Yes, and the standout point is simple: similar cosmetic results, less irritation for bakuchiol.OM Botanical’s Perspective: Safe, Microbiome-Friendly SkincareOM Botanical sees bakuchiol as more than just the latest thing in skincare products. The brand links it to having a healthy skin barrier, a calm daily routine, and a balanced microbiome. This is good if you want both comfort and results.In daily use, OM Botanical combines bakuchiol with a gentle cleanser, natural oils, and skincare products that support your skin. They do not use harsh or stripping items. This helps make your routine steady and not tough on your skin.
OM Botanical puts focus on keeping your skin’s microbiome healthy, not on over-exfoliating.
The brand uses plant-based and non-toxic skincare products.
Its bakuchiol serum is a gentle anti-aging choice that is good for even sensitive skin.
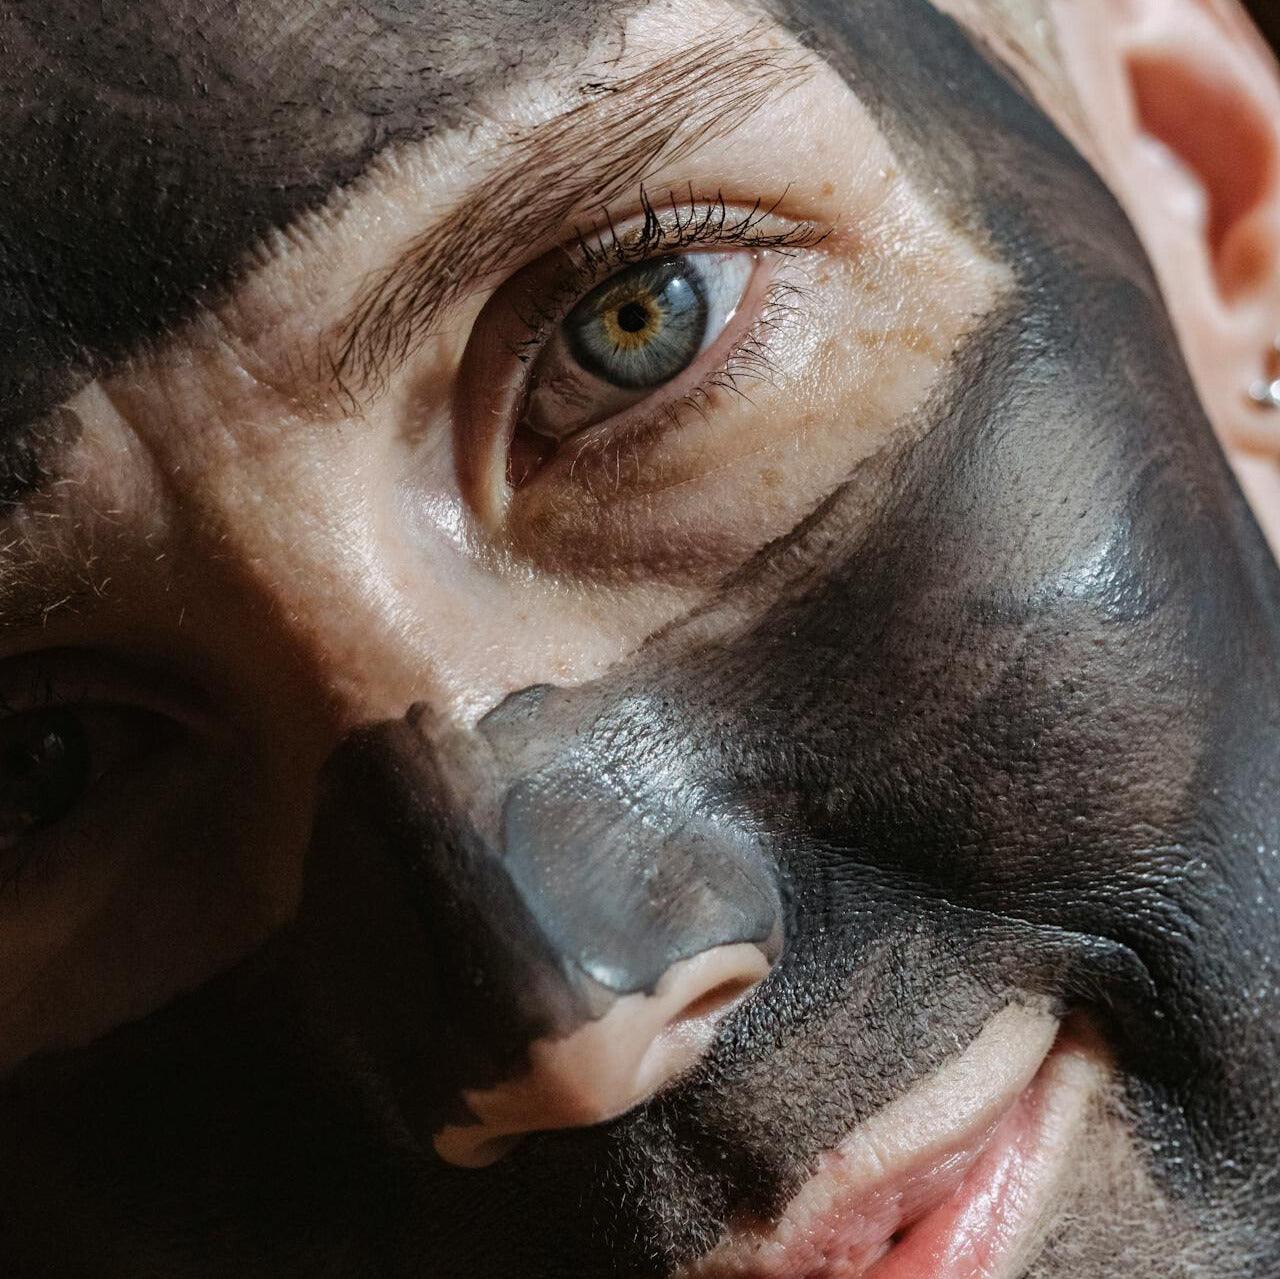
This is why OM Botanical goes well with ideas like Ayurvedic skincare products and food grade skincare. The focus is on giving your skin support, not on treating it roughly.Understanding Retinol and Bakuchiol: Definitions and OriginsTo talk about these skincare ingredients in a fair way, let's start with what they are. Retinol is a form of vitamin A. You will find it in many creams and products made to fight aging. This works because the body changes it, and then it helps with retinoic acid in the skin.Bakuchiol works in another way right from the start. It comes from psoralea corylifolia, which many people call the babchi plant. It is not a form of vitamin a, or any kind of vitamin at all. Still, bakuchiol can help the skin look new and fresh. That is why people still ask if the science is the same.What Is Retinol? Dermatologist-Approved Benefits and DrawbacksRetinol is one of the top active ingredients found in skin care products. It is in the retinoid family. People often use it in their skin care routines to help with fine lines, wrinkles, uneven skin tone, and acne. Many people think it is the standard to compare to, since traditional retinoids have been used for many years.There are some clear benefits found in many studies. Retinol helps the skin by speeding up cell turnover. It also helps with collagen production, which means your skin can look more firm, and the appearance of fine lines and dark spots may improve. Because of this, topical retinoids are a big thing in cosmetic dermatology.But you also need to look at the downside. Using retinol can make your skin red, dry, itchy, or cause peeling. It can also lead to sun sensitivity. Some people find it too hard to use because of these problems. So, bakuchiol might give you results like retinol, but it will likely be kinder to your skin and not cause as much trouble.What Is Bakuchiol? Ancient Ayurvedic Roots and Modern AppealBakuchiol is a natural compound found in psoralea corylifolia, or the babchi plant. People have used it in Ayurveda for years, and now many like it because it helps with aging without the hard side effects of retinol.The main reason people use bakuchiol today is for its antioxidant properties and clear skin benefits. It helps skin look smoother, helps with tone, and makes the skin look firm. Even better, it is gentle enough for people who can't use strong creams.This is why bakuchiol is now the top choice for people who want something other than retinol. It is made from plants and fits in well with today's want for clean skincare routine options. For many, it can be used instead of retinol, especially if you want your skincare routine to feel good and easy to keep up with.The Rise of Plant-Based Anti-Aging Solutions in the USAcross the US, there is a big change in what people look for in skincare products. They want plant-based options that really help their skin. People are not just looking for a nice package or design. They want anti-aging results but do not want the strong side effects some products bring.Bakuchiol is a good fit for this new way of thinking. It helps with collagen synthesis, gives a smoother feel, and helps the skin look brighter. It matches what people want from cleaner skincare products. This is good news for people who thought they had to pick either natural care or good results.Interest from skin care experts has sped up this trend. The information we have now shows that bakuchiol goes head-to-head with retinol. It can help with lines and uneven color but gives people less irritation. These results help put bakuchiol far past simple marketing hype and show its real skin benefits. It is now seen as a trusted choice for anyone looking for better skincare.Mechanisms of Action: How Retinol and Bakuchiol Work on Skin Retinol goes along vitamin A pathways and helps the skin by increasing cell turnover and boosting collagen production. Because of this, it can help soften fine lines and make skin tone look better as time goes on. But, it can also lead to irritation in many people.Bakuchiol gives many of the same skin benefits, but it works in a different way. It is not retinoic acid, but it still helps with cell renewal and can fight against oxidative stress. In short, you might get the same result on your skin, but getting there with bakuchiol is usually much gentler.Collagen Stimulation: Are the Results Really Comparable?The main thing people want to know is: can bakuchiol really boost collagen production in a way that matters? The answer, based on what we have, is yes. Bakuchiol helps kickstart things that lead to firmer-looking skin and less visible lines. This is why many people turn to it for help with signs of aging.Retinol is still the top choice for this, as it goes right into the pathways that use vitamin A in your skin cells. It helps with collagen synthesis and makes skin look fresh. That’s why a lot of people use it in their anti-aging routines.Bakuchiol, though, has shown that it can make a visible difference in wrinkles and help with elasticity, too, just like the reports from the research say. This means it can help cut down on signs of aging and make your skin look smoother, but most users do not get all the dryness and peeling first. When you want results you can keep up with, this is a good thing to know.Cellular Renewal: Addressing Texture, Lines, and WrinklesAs we get older, changes in our skin tend to show up together. You may see a rough skin texture, dull look, uneven skin tone, and notice the appearance of fine lines. That is why ingredients focused on renewal can be helpful.Retinol can boost cell turnover. This means it helps your old top layer of skin go away sooner so fresh skin comes in. It can help with skin texture and soften fine lines, but you may go through a rough period as your skin adjusts. Not everyone likes smooth skin tomorrow if it means irritation today.Bakuchiol helps with skin renewal, too, but often feels gentler. It can help you see smoother texture, a brighter look, and less wrinkles, without the same tough adjustment. If you want steady changes that you can handle, bakuchiol is a good way to improve uneven skin tone, fine lines, and skin texture with more comfort.Unique Pathways: How Bakuchiol Differs Biochemically From RetinolThe key science point is this. Bakuchiol and retinol are not built the same way, even though they can give you the same visible results. Retinol is part of vitamin A and does its job through retinoic acid.Bakuchiol is found in the psoralea corylifolia plant and goes to work through a different path. This makes a real difference, because it helps show why bakuchiol helps fight signs of aging without causing as much redness, burning, or that big risk of sun problems you get with retinol.Bakuchiol also has antioxidant properties. These help guard your skin from oxidative stress. This helps the skin look and feel good while working on lines and other signs of aging.So, does bakuchiol really do the job like retinol? For the results, many times yes. In chemistry, no. This is the reason why people with sensitive skin find bakuchiol easier to use and stick with.Comparing Side Effects: What Clinical Studies and Real Users Reveal When people go online to look up bakuchiol vs retinol side effects, they often want to know one thing: What will the skin on my face actually feel like? The answer is clear when you gather the facts. Retinol is known to cause more skin irritation and other adverse effects.Both research studies and things people share about their own use lead to the same point. With retinol, people sometimes get red skin, peeling, dryness, and sun sensitivity. Most people who use bakuchiol feel little or no irritation. That’s a big difference when it comes to sticking to these products in real life, not just in theory.Typical Retinol Side Effects: Peeling, Redness, and Sun SensitivityRetinol is well-known for a reason. In the first weeks of use, many people have peeling, redness, itching, and dry skin. People often call this "retinization." Some people get used to it, but others stop using it because of these problems.Retinol works with retinoic acid, and this can speed up renewal more than the skin barrier can handle. This is why your skin might look worse before it looks better. It can also make you have more sun sensitivity, so that makes it even harder to use regularly.Does bakuchiol give you peeling or redness like retinol? All the information so far says it is much less likely to happen. That is a big reason people notice bakuchiol when they want anti-aging help for their skin, but do not want a tough start.Bakuchiol Side Effects: Is “Zero Downtime” Real?“Zero downtime” sounds bold, but that is close to what comes up when you read about bakuchiol. Most people do not have the usual problems like flaking, burning, or clear peeling. That is a big reason why people talk about bakuchiol’s safety and how it is good for your skin barrier.But this does not mean bad reactions can never happen. A small number of people may get mild itching or a bit of irritation, especially if they have skin that reacts fast. Even so, most people get less irritation and feel it works well with their skin barrier compared to retinol.So, is bakuchiol less likely to bring on skin irritation than retinol? Yes, from what has been shared. Is it safer for people with sensitive skin? In many cases, yes. It really gives someone a good way to keep using their serum without too much trouble or bad effects.“Retinol Purge” vs. Gentle Start: Insights From User ExperiencesOne of the hardest things about retinol is getting through the purge. People often know there will be tough days in the beginning. But when your skin is red, flaky, or starts to break out, it still feels bad. This makes many people want to quit.Bakuchiol is talked about as a gentle option because most people do not go through that bad skin phase at the start. Over and over, you will see people say it gives you an easy start, which is why people who have struggled with retinoid products often like it.
The retinol purge can make your skin break out, peel, or look dry.
Bakuchiol does not usually lead to a purge.
An easier start helps many people keep using it for a long time, even if their skin is sensitive.
Does bakuchiol cause purging the way retinol does for some people? The information out there points to “no.” Most people will not get a purge when using bakuchiol, which is great news if you want real progress without your skin feeling out of control.Sensitive and Reactive Skin: Which Ingredient Wins for Comfort? If your skin feels unpredictable, comfort is key, not just a nice-to-have. People who have sensitive skin or deal with skin conditions often cannot use things that strip the skin or make it overreact.That is where these two ingredients show the biggest difference. The information shows bakuchiol is a better choice for people with sensitive skin, rosacea, eczema, or if you have skin that gets irritated easily. Retinol can be tough on the skin barrier, which can make things worse. The next part will help explain why comfort leads so many people one way.Why Bakuchiol Is Considered a Safer Option for Rosacea and EczemaFor people with sensitive skin, like those who have rosacea or eczema, strong actives can make things worse. What starts as hope for good skin can turn into a bad time fast. That redness, burning, or dryness feels much worse when your skin barrier is weak.Bakuchiol is seen as a gentler alternative to help with aging. It does not bring the same kind of irritation that retinol does. Some reports say bakuchiol also has anti-inflammatory powers. This can help people who react easily to new products.Is bakuchiol a safer choice than retinol if you have sensitive skin? From what is shared here, the answer is yes. Bakuchiol helps your skin look smoother and firmer. It does this without making your already-fragile skin go through a hard adjustment. So, if caring for your skin barrier comes first and results come later, bakuchiol is a smart pick.Phototoxicity and Photosensitivity: Who’s Safer Under the Sun?Sun compatibility is not something small. Many people who buy anti-aging products want to have something they can use all year. They do not want to worry about getting more sensitive every time there is a bit of sun exposure.Retinol can make your skin more open to sunlight, meaning it is less stable in the sun. Ultraviolet radiation can make it weaker and also can make skin more open to harm. This is why people say to use retinol at night. It can make your daily routine harder and cause stress.Bakuchiol is different. It stays strong even when the sun is out, and it does not make skin more open to sun in the same way. Which one is safer when you are out in the sun a lot, bakuchiol or retinol? It is bakuchiol. You should still use sunscreen every day, but this ingredient is the better choice when there is normal sun exposure.Addressing Allergic Reactions and Rare Adverse EventsNo active ingredient is totally free of risk. Even formulas that are made to be gentle can sometimes cause allergic reactions. This mostly happens to people who have very reactive or damaged skin. This is why patch testing is still important.From what is given, the side effects and adverse effects of bakuchiol are not common and are usually mild. Things like a little itching or light irritation can happen. Retinol, on the other hand, is more often tied to problems that people expect, not true allergies. These side effects include dryness, peeling, redness, and stress on the skin barrier.How do allergic reactions compare? For bakuchiol, allergic reactions look less common and seem less strong, based on the information. Retinol is more often talked about when people bring up irritation. Are there rare but serious side effects? Most of the content focuses on concerns with retinol, like toxicity, pregnancy warnings, and more skin discomfort, while it does not say there are big, serious events from bakuchiol.Pregnancy, Breastfeeding, and Special Populations: Safety FirstPregnancy makes the talk about skin care change fast. Wanting to look young is still important, but staying safe is more important at this time. For this reason, retinoid products may be risky for some people, especially when someone is pregnant or breastfeeding.What people know now makes it clear. Retinol should not be used during pregnancy. Many people talk about bakuchiol as a safer choice for pregnancy. Still, it is good to ask a doctor before using it. If you want less time spent guessing, you really can see the difference here.Is Bakuchiol a Pregnancy-Safe Anti-Aging Serum?For many people who shop for skin care, this is the big question. Can you use both bakuchiol and retinol when you are pregnant? After looking at the facts, the answer is no. Retinol is not safe for use, but bakuchiol is seen as the better and safer pick.Still, it is important to point out one thing: there are no strong studies on how bakuchiol works for women who are pregnant. Most see bakuchiol products as a safer way to do anti-aging skin care during this time. Even so, you should talk to your doctor before you start using anything new in your skin care routine.If you are pregnant and want something for fine lines or dullness, bakuchiol can help. It gives you a way forward with your skin care. You can use it to help your skin look better without the bigger worry that comes with retinoids.What Dermatologists Advise for Retinol Use in Sensitive GroupsDermatologists are very careful when they suggest retinoids for people who have sensitive skin. Many point out that if you are pregnant, it is best to stay away from these products. This is even more true if you use prescription retinoids or any treatments that use retinoic acid.That same care is also important for anyone with rosacea, eczema, or skin that gets very irritated. Retinol can help skin, but it often dries it out, makes it red, and can cause peeling before you see any good change. Not everyone should have to go through that just to get results.So, what do most dermatologists say about using retinol for people in these groups? They usually say you should think about it a lot, go slow if you try it, and not use any retinoids at all if you are pregnant. For a lot of shoppers in these groups, bakuchiol is a better pick. It is less likely to bother skin or change your routine.Long-Term Results and Safety Data: Myths and Evidence Retinol has been used for a longer time, but bakuchiol is newer and has good scientific evidence behind it. So, you may wonder what to use: the one with a longer record, or the one you can use all the time with no trouble?When you think about using something for a long period, the biggest thing is not only if it works or not. You need to ask if using it often helps your skin barrier, or if it puts your skin under stress. From what people know, bakuchiol causes less irritation, so it may be easier to keep getting results without problems for your skin over time.Chronic Use: Skin Barrier Support or Weakening?A product can be strong but still not be right for long-term use if it keeps hurting your skin barrier. This is the main problem with many retinoid products. They might work, but most people still notice dry skin, tightness, or even reactions.The information shows that bakuchiol is a better choice for using every day because it is softer on your skin and better for the skin barrier. Retinol is more likely to make your skin barrier weaker, causing dryness and irritation again and again.Are there long-term side effects with these ingredients? There are not big long-term dangers from bakuchiol. But retinol’s risks are about ongoing irritation, sensitivity, and skin barrier concerns. This is why OM Botanical’s food grade skincare is a good pick. People want their products to work—for them to do their job—without side effects or harming the skin barrier.Emerging Insights on Aging, Hyperpigmentation, and ToleranceThe most helpful new finding is not that bakuchiol is better than retinol in every way. The key point is that bakuchiol gives many people an easy way to care for aging skin that they can stick with. That changes a lot of things.The information put together shows that bakuchiol can help with skin tone, dark spots, elasticity, and fine lines. It can also lead to changes in spots and lines on the skin without causing the burn-and-peel problems that often happen with retinol.This is important because how well your skin handles a product is what really counts in aging care. A product will do you good only if you keep using it. For people who have tried retinol but had to stop, bakuchiol is not settling for less. It gives a steady way to help you get smoother skin texture, better skin tone, and look fresh.OM Botanical Bakuchiol Serum—Setting the Gold StandardOM Botanical says its bakuchiol serum is a new answer for people who want to see anti-aging results, but do not want the skin to get red or irritated. The brand’s message is more than just using plant-based beauty. It is about using science to help your skin feel good, stay strong, and be steady every day. This is why OM Botanical is part of talks about bakuchiol’s safety, and why it matters for the skin’s barrier, keeping the microbiome in check, and picking food-grade skincare.What helps it stand out is how the brand looks at the whole skin routine. OM Botanical puts its bakuchiol serum along with things that help, like a food grade face cleanser, natural face cleanser for sensitive skin, organic face moisturizer, best natural moisturizer for sensitive skin, reef safe sunscreen, non nano zinc oxide sunscreen, mineral sunscreen for sensitive skin, natural sunscreen for face, and plant based sunscreen. This bigger set of products gives the serum more use in daily life, and helps people with sensitive skin.Microbiome-Friendly, Food-Grade, and Evidence-Based FormulationOM Botanical does more than most brands by telling a clear story about how it makes products. It uses skincare that is friendly to your skin's natural balance and follows food-grade ideas. The products are also backed by scientific evidence. The promise is simple: help the skin work well and give it what it needs for healthy, good-looking skin as the years go by.People who buy skincare now want more than just active ingredients. They ask for things that do not upset sensitive skin and that go well with other support products. OM Botanical listens to this need. The products are made to feel calm, clean, and easy to use for all.
OM Botanical puts focus on food-grade skincare and looks at barrier care.
The brand links bakuchiol to good care for the microbiome and gentle use day-to-day.
The system can go with other products, like niacinamide serum, niacinamide serum for rosacea, vitamin c serum for face, tremella mushroom serum, and gotu kola face cream.
This way of sharing the brand makes the formula stand out. It feels less like a trend and more like a smart choice you can trust, based on scientific evidence and routine care.What Sets OM Botanical Apart in the Bakuchiol Revolution?OM Botanical is different because it does not advertise bakuchiol as a miracle fix. The brand shares information about bakuchiol’s safety as a part of a bigger plan for better skin. This approach feels more real and solid, especially for buyers who want to compare bakuchiol products carefully.The gathered details show a new formula. It is built with plant-based ingredients and takes the skin’s microbiome into account. There are clean actives used here, not harsh extras. OM Botanical connects with groups that people trust more now, like Ayurvedic skincare products and non toxic skincare products.There is also something else here: the full brand experience. It speaks to people who buy one product and then want more things in the same line. Someone who gets a natural anti aging serum may also want to try a natural exfoliating face cleanser, gentle body care, magnesium body lotion, magnesium lotion for sore muscles, a natural body lotion for dry skin, vegan deodorant natural, hops deodorant, natural deodorant aluminum free, anti chafe balm natural, sulfate free natural shampoo, shikakai shampoo, shikakai shampoo for hair growth, and natural shampoo for sensitive scalp. OM Botanical fits that lifestyle.ConclusionTo sum it up, picking between Bakuchiol and Retinol can change the way your skin looks and feels. This is true, especially if you have skin that gets red or hurts easily. Retinol is well-known for making skin look younger. But it can also have side effects like peeling and red spots. On the other hand, Bakuchiol is a gentler alternative. You can use it to get almost the same good changes in your skin without the long downtime.More people now want safe and effective skincare. Bakuchiol is a good pick if you are worried about side effects, pregnancy safety, or having sensitive skin. If you want your skin to become smooth and radiant, you can try the OM Botanical Bakuchiol Serum. It is made to keep your skin’s health in mind. Try it today and take your first step toward better, radiant skin!Frequently Asked QuestionsCan bakuchiol replace retinol in my anti-aging skincare routine?Yes, for many people it can. Bakuchiol helps with collagen production and can also reduce signs of aging in your skincare routine. This is good because it does not cause the same skin irritation that you may get from many retinol products. If retinol feels too strong for you, bakuchiol can be a good choice that you will want to use often.Will bakuchiol cause purging or breakouts like retinol sometimes does?No, it does not. The data we have does not show that bakuchiol makes the skin go through the same rough stage that can happen with the effects of retinol on skin cells. Bakuchiol’s safety makes it a good choice for a lot of skin types. So, people who use it do not usually go through the hard, breakout phase that retinol can cause.Are there clinical studies comparing bakuchiol and retinol side effects?Yes. The collected facts talk about clinical studies. In these studies, people had about the same changes in how fine lines and skin spots looked. But, bakuchiol caused less side effects and less adverse effects. This scientific evidence is the main reason people now see bakuchiol as a softer way to fight aging.